This is a great side dish that’s full of fiber and turmeric, an antihistamine spice that can sometimes be difficult to incorporate into western pallets. I serve it over mashed potatoes or alongside roasted chicken. Make sure to use napa cabbage in particular, which is a more delicate variety than traditional cabbage.
You’ll need:
3 leaves napa cabbage
1 large or 2 small carrots, washed and peeled
1/2 white onion
1 clove raw garlic
1 teaspoon turmeric
1/2 teaspoon ginger
1/2 tablespoon coconut oil
1 teaspoon honey (optional)
Prep your veggies: cut your onion into thin rings, mince your garlic, cut your cabbage leaves into 1/4-1/8 inch slices (leaves and stems included), and use a peeler to sliver off your carrots into long ribbon strips.
Melt your coconut oil in a stainless steel pan. When it’s liquid, add your onions and garlic and sautee over medium heat until translucent.
Sprinkle your turmeric and ginger overtop the onions and mix.
Add the cabbage and carrots to the pan. Continue to cook until the spices begin to form a paste at the bottom of the pan, but do not burn!
Add about a cup of water to the bottom of the pan and scrape up any stuck bits to create a rich yellow gravy sauce.
Add your honey if you’ll be using it. This isn’t necessary but adds depth of flavor.
Reduce your pan to low heat, cover, and simmer for 10 minutes. Uncover your pan and check the mixture – if your gravy is too thin, let it boil off a little uncovered.
Pre-COVID, I was obsessed with the chilled pickled beet salad from my local shawarma joint. This is a slight attempt to recreate that in a low histamine way. I love all beets, but especially like the golden ones for their mellower flavor and lack of staining purple juice. Larger golden beets tend to be sweeter than smaller golden beets.
You’ll need:
2 large golden beets, peeled and quartered
1/2 Vidalia onion
1 cup chopped flat leaf parsley
1 cup cubed zucchini
2 tablespoons tahini paste
1 tablespoon white vinegar (optional – could be lemon or lime juice if you tolerate those instead)
1/2 tsp garlic powder
1 clove raw garlic, minced
1 tablespoon oil of choice
Hulled white sesame seeds for garnish
Salt
In an instant pot, cover the bottom with two inches of water and insert the metal trivet. Place your quartered raw beets on top of the trivet but do not layer them, or they’ll cook unevenly.
Close and seal your instant pot. Set it to pressure cook on high for 45 minutes, with a natural pressure release. Open and test your beets. They should be fork tender. If they’re not, reseal and cook for 10 more minutes.
While your beets cook, sauté your onion and raw garlic in oil (I used olive) with a little salt. You want your onions to brown slightly, and when they begin to stick to the bottom of the pan, add a little water to loosen them, then let it boil off to help soften the zucchini. Remove from heat.
Slice your beets into thick wedges or cubes and place them in a bowl.
In a small separate bowl, make your dressing by mixing the tahini, garlic powder, salt, oil, vinegar and parsley. It’ll be a little pasty in consistency.
Pour your dressing over your beets and toss to coat. If you want, sprinkle the raw sesame seeds overtop lightly. The warmth of the beets should help to melt and coat the sauce.
Pre-COVID, pre-MCAS diagnosis, I worked a job with a 3 hour round trip commute and was a big fan of the crockpot salsa + meat combo. Dump salsa over meat, go to work, come home to food.
Crockpots and slow cooking are a big histamine no-no, as are tomatoes and hot peppers. Even though I now work from home and have a commute of 2 minutes, I still miss the convenience of the commuter meal. I’ve tried a few different things to replicate the same sort of dish in an instant pot, and this is the most successful.
NOTE: There are a bunch of controversial ingredients here depending on which MCAS school of thought you follow. Sugar raises blood sugar and some avoid it altogether. Vinegar and black pepper may not be tolerated in all, especially in early diet stages. It would be possible to omit the vinegar, but the chicken would be less tender. I have not tried this recipe without sugar or vinegar or onions, though I have tried it with just the greens of onions and it turned out well. Mangoes are confusing all to themselves. Some lists call them histamine liberators, while others say that they have strong antihistamine properties. I personally have never had a problem with Mango and lean more towards the antihistamine school of thought. As with any food, you’ll have to test it out yourself in small quantities before deciding if it’s a trigger for you.
You’ll need:
1 large, ripe fresh mango
2 tablespoons of white distilled vinegar
2 teaspoons garlic powder
2 scallions/green onions, chopped
Cracked black pepper (optional)
1/2 cup water
1 tablespoon coconut sugar
2 medium boneless skinless chicken breasts
1/2 cup white jasmine rice
Peel and remove mango flesh from the pit, collecting it and any juice in a small blender.
Add water, garlic, coconut sugar, vinegar and black pepper to blender. Swirl to combine.
Blend until all ingredients are a consistent saucy texture.
In an instant pot, add a small dash of coconut oil, place chicken on top, and sautee to allow the meat to brown. Turn the chicken and brown both sides evenly.
Turn off sautee setting. Pour mango mixture into pot covering chicken.
Sprinkle scallions overtop of chicken.
Seal instant pot and set to pressure cook on high for 17 minutes. While you wait, boil your rice with water on the stovetop.
Allow the instant pot to naturally pressure release.
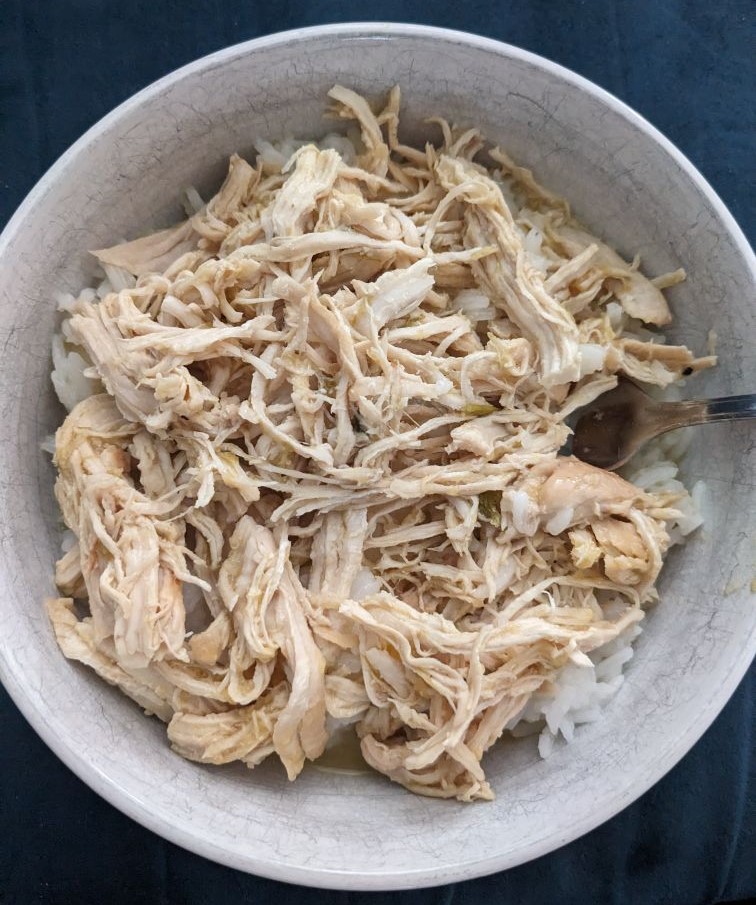
Open pot and shred chicken in the pot. Let it sit for 5 minutes to absorb the juice.
Serve over rice. Chicken does freeze and thaw nicely if you want to make batches.
Traditional pasta salad is a glutenous, high histaminey stew of pickled and cured things left to be picked at in the fridge for days. For those on a low histamine diet it’s dangerous, but I’ve also missed it in the warmer summer months when eating hot meals feels hard.
This recipe is gluten free, vegan, low histamine, and good enough that I’ve had normal eaters give it the stamp of approval. I like it better than a plain old pasta salad with raw veggies, which I have a hard time digesting. The secret is in the ‘dressing’ you’ll make for the salad. The below amounts assume that you’re making it as a side or smaller meal for two people. I serve it alongside the protein of choice and some fresh greens. If you wanted to make it a complete meal, add in some low histamine beans of choice.
You’ll need:
6oz dry gluten free pasta – this farfalle is my favorite for this salad but tinkyada also works well. I’d stay away from anything corn or quinoa.
1 small zucchini, diced
1 generous red or yellow or orange pepper, peeled, deseeded, diced
1 bunch green onions/scallions, sliced and split into white and green parts
4-6 stalks of asparagus, sliced into thin rounds
Fresh basil
Fresh parsley
Olive oil or oil of choice
2 cloves fresh garlic, smashed
2 teaspoons ground garlic
1 teaspoon dried thyme
White distilled vinegar (optional, if tolerated)
Salt to taste
Water
Fill your pasta pot with water and bring to a boil. Pour in your pasta and cook and drain. Spritz olive oil over top once drained to prevent the pasta from becoming a giant ricey goo clump. The idea is for your pasta to slightly cool while you cook your veggies. Don’t let the pasta sit in the fridge or out on the counter for hours.
Heat olive oil in a pan over medium heat and add all sliced veggies except for the green parts of the scallions. Stir them occasionally to prevent burning, but ideally you want them to brown just a little bit.
Add your fresh garlic to the pan and continue to cook.
Pour the water into the pan. It may hiss, which is fine, but make sure you stir up any brown bits on the bottom of the pan into the water. Use enough water that it doesn’t all evaporate off and remains deep enough to gently simmer your mixture, maybe 1/4 inch in the pan.
Let the pan mixture simmer for 5-10 minutes on low heat, covered. If necessary, open half way through and add more water.
With a slotted spoon, strain all the veggies out of the pan and add them to your pasta, keeping the veggie liquid in the pan. This will become the base of your dressing!
Add 1/8 cup olive oil to the pan and stir it all together. Add dry spices. If you’re adding vinegar, this will give it a nice bite – I tolerate limited amounts and put in two tablespoons for this amount of salad. Add the vinegar and remove the pan from heat.
Chop your fresh basil and parsley into thin ribbons and add to the pasta mixture.
Add the raw scallion greens to the pasta mixture.
Pour your pan sauce over your pasta and stir it all to combine.
A lot of us go into dietary changes thinking that nuts are a high allergy food because peanut allergies are so widely known now. I was surprised to find how well I tolerated some seeds and nuts, and how badly other set me off.
For me:
BAD = sunflower seeds, peanuts, walnuts, pecans, cashews
GOOD = pistachios, hemp seed, chia, flax, pumpkin seed/pepita, brazil nuts, quinoa, sesame seed
Here are some of my nut and seed staples and where I get them in bulk to cut down on costs.
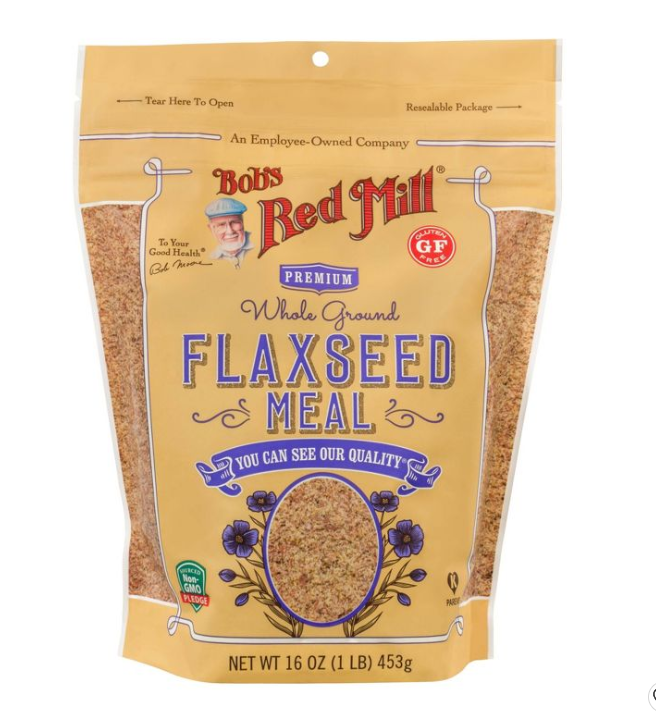
Seriously, where would the dietary restriction community be without Bob’s Red Mill? This is sold so many places anymore, for under $5. I put it into my oatmeal before cooking for extra fiber and omegas.
Chia seeds are a great source of protein, fiber, and antioxidants. I also have zero problem digesting them without cooking, which I can’t say for all seeds. They’re great in smoothies or oatmeal or even cereal, if you tolerate that. I realize that Walmart is the devil. I still can’t find organic chia seeds cheaper for this quantity other than Walmart.
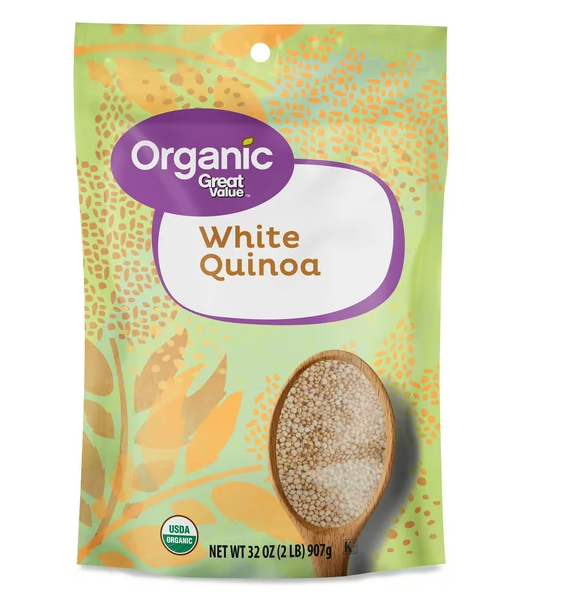
Walmart is also where I get my quinoa, also suspiciously cheap for the amount, but just as good quality as the other pricier brands I’ve tried.
Badia is a Goya competitor brand that’s sold a lot around where I live. Try bodegas or stores closer to Latin and Hispanic communities, if you’re in the states. They’re very cheap, and have little packets of all their seeds and spices for under $2 – a great way to test out if you tolerate something without having to waste money on a huge bag you can’t eat.
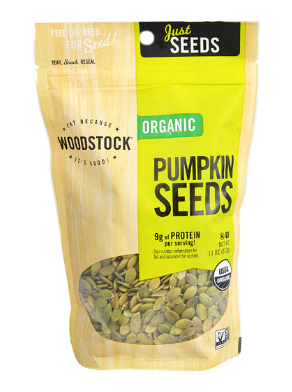
I am VERY picky about my pumpkin seeds. They have to be raw and unsalted. I’ve tried other brands and none of them taste as fresh or have lots of broken up pieces. Woodstock is sold at Vitacost online, or I’ve also gotten it at my local coop.
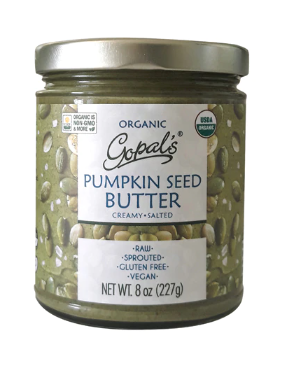
Likewise, pumpkin seed butter is the only nut butter I tolerate. I’ve seen it sold at Whole Foods sometimes, but I usually get it from Vitacost. It’s a great dip for fruit or veggies as a portable snack, or spread on rice cakes with a little coriander and honey.
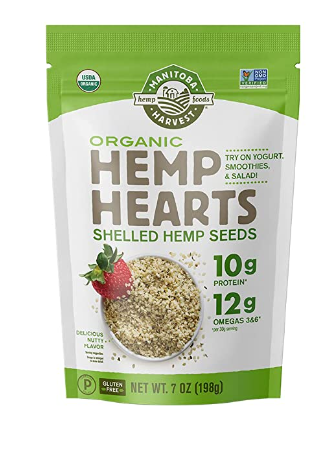
Hemp seeds might seem a bit out there, but they’re a really interesting flavor and packed with protein and omegas. This is one that I’m honestly not picky about as long as it’s shelled! Don’t get unshelled hemp seeds. Don’t do it. You think you can save a little money by shelling them yourself…. and one broken blender later, you’ll regret it. Manitoba is an affordable option and sold at a lot of health food stores and online places.
If you’re in to smoothies, hemp seed powder is high protein and low histamine. It also has a STRONG hempy taste. Some people can’t stand it for that alone. I blend it with ice cubes and frozen blueberries and a little mango and choke it down just fine. Nutiva is my trusted brand here. Keep it in the fridge after opening for freshness.
And finally, pistachios. They’re my ride-or-dye purse snack. I always have a little container of them for emergencies. To me, Wonderful has the best tasting brand. I’ve tried grocery store generics, Trader Joe’s, Walmart, Target, CVS… you name it. They all taste stale to me. Amazon has these for $6 a bag. Just make sure to stay away from the flavored ones, which are coated in all kinds of weirdness.
I will confess something: I have never had traditional Ramen. By the time it was popular, I’d been gluten free for years. I have had Pho, but that’s made by simmering broth for hours and hours with cuts of dark meat. I’d describe this recipe as somewhere in between the two – quicker broth, just the right amount of noodles, and custom protein. It is a bit of work, but you can get around that by using frozen pre-made ingredients to cut steps.
You’ll need:
Three cups of home made veggie broth (if you make it specifically for this soup, add 2 inches of peeled ginger root to your instant pot!)
Four cloves of garlic, peeled and grated
4 inches of ginger root, peeled and grated
4-6 scallions, chopped and separated into white and green pieces
Roasted protein of choice (here I used previously cooked pork loin, but chicken etc would also work) with some of its juices/gravy reserved
1 tablespoon sesame oil (can sub olive or canola, if not tolerated)
3 large fronds of bok choy, separated into chopped white and green parts
1 tablespoon white distilled vinegar (optional, but recommended)
White sesame seeds for garnish (optional)
If needed, make your broth and roast your protein. Make sure to reserve pan drippings from your protein. If you freeze it ahead of time, just pour a little water in the bottom of your pan, whisk off the browned bits with a fork, and pour over the meat before you pop the container in the freezer.
In a pot, heat your garlic and ginger in the oil on low heat.
Add the whites of the scallions to the pot and stir. You want all these ingredients to brown a little but not burn.
Add the whites of your bok choy and allow that to cook for about 2 minutes.
Pour gravy over the mixture in the pot and let it reduce and soak into the bok choy.
Add your protein to the pot and stir.
Pour in all veggie broth. Turn heat up to medium high and allow to come to a boil.
Add your rice noodles – this can be as little or as much as you want, but if you want a lot of noodles you’ll need to add additional broth or water! I did a handful that had a circumference of about two inches, broken in half.
Add your salt, vinegar, and sugar. Add green parts of bok choy. Allow pot to boil uncovered for 10 minutes.
Add sesame seeds, slivered green onion tops, and serve.
Roasted peppers are one of those things that tastes really decadent but takes very little effort to make. Traditionally red peppers get all the love, but I also roast orange or yellow peppers. Green aren’t sweet enough and taste a little bitter to me, but if that’s your thing the method would be the same.
Line a baking sheet with foil, or use a glass pyrex pan and place your peppers side down. Roast them uncovered in the oven for 40-50 minutes (depending on pepper size) at 400 degrees. When the side facing up starts to turn black or dark brown, use tongs to turn the pepper so that side is now face down on the pan and continue roasting the new up side. When that colors, take the peppers out and let them rest for 10 minutes before gently peeling off the skin and deseeding the inside.
Once you’ve made roasted peppers, popping them into sauces is easy. I freeze roasted peppers in jam mason jars and pull them out a portion at a time for this sauce.
You’ll need:
1 roasted red or orange pepper (per person – if feeding multiple people do one pepper per head) 1/2 cup pressure cooked white or navy beans (again, per person) 1/4 cup fresh basil, chopped roughly 2 teaspoons olive oil 2 cloves garlic (can use dried powder if that’s what’s on hand) 1 small white or yellow onion, cut into finely slivered rings 1/2 teaspoon dried oregano Salt to taste Small blender or hand blender
Combine all ingredients in your blender cup. Make sure that your peppers and beans aren’t piping hot when you do this, or your sauce will explode when you open the blender cup.
Blend ingredients until smooth.
Pour over rice pasta, chicken, or use as a simmer sauce.
Traditional fried rice is made with day old rice to use it up, stir fried in oil over high heat with soy sauce, and peppered with little bits of leftover meat. Most of that doesn’t fly on a low histamine diet.
For this we’re going to lean on several ingredients traditionally used in Asian cuisine – ginger, scallions and garlic – to suggest flavors that go with soy sauce rather than using soy sauce. If you don’t tolerate ginger or garlic, this will be hard to sub
For this version, you’ll need:
1/2 cup white or brown rice, previously cooked and frozen
1/4 cup diced peeled carrot
1/2 cup diced scallions (can be green and white parts if tolerated, or just green if on a low FODMAP diet)
1/2 cup diced napa cabbage stems
1 tablespoon oil of choice (I used sesame)
1 whole egg (if only part of the egg is tolerated you can use just egg whites or just egg yolks)
1 teaspoon powdered ginger
1 good sized nub of fresh ginger, peeled and grated
3 cloves garlic, grated
1 teaspoon salt
Black sesame seeds (white works too)
In a steel pan, heat your oil over medium heat. Add your grated garlic and fresh ginger and stir.
Add scallions, onions and cabbage. Cook over heat with occasional stirring until cabbage and onions are wilted.
When vegetables begin to stick to the bottom of the pan, add powdered ginger and salt.
Pour 1/4 cup of water into the pan and scrape brown bits off the bottom. Reduce heat to low, cover pan, and simmer for 10 minutes.
While your veggies simmer, thaw your rice in the microwave.
Open the pan and stir vegetables. Most all of the liquid should be gone and the veggies should be tender.
Add rice to pan. Stir to combine.
Turn heat up to medium high. Crack an egg overtop the rice mixture and stir. As the egg hits the pan, it should cook and produce little ‘fried’ egg bits throughout while leaving a nice creamy texture.
When egg is totally cooked, remove from heat and dish out into a bowl. Top with sesame seeds. Serve immediately.
Subs: I’ve added broccoli, frozen lima beans, or cubed cooked pork loin to this to make it a fuller meal. It doesn’t freeze well but is a great way to use up little frozen odds and ends of ingredients.
This is my go-to safe meal when I’m in a flare or having a bad gut day. If you can’t have honey, I have also successfully made this with coconut sugar, although the flavor is a bit different.
You’ll need:
1 boneless skinless chicken breast, cubed 1 tablespoon of honey 1 tablespoon virgin unrefined coconut oil 2 cloves garlic, minced 1 small white or yellow onion, cut into finely slivered rings Fresh parsley leaves, chopped 1/2 cup white Jasmine rice, rinsed and boiled or pressure cooked 1/2 cup water Salt to taste Stainless steel skillet and lid Hard spatula or spoon
In a stainless steel skillet, heat your oil.
Add your onions and garlic. Allow them to cook slightly.
Add your chicken to the pan. Allow it to brown with occasional scraping. If any chunks are particularly large, you can cut them in half during this stage with the side of your spoon or spatula.
When you’re satisfied with the browning, drizzle honey over the chicken and stir the pan to combine.
Add water to the pan. It should sizzle. Scrape browned bits off the bottom of the pan and stir the water to make a gravy.
Add your parsley overtop the chicken mixture and cover. Reduce heat and cook for 10 minutes.
Remove from heat, spoon over rice, and serve immediately. If you can tolerate any kind of butter, that’s a nice add on.
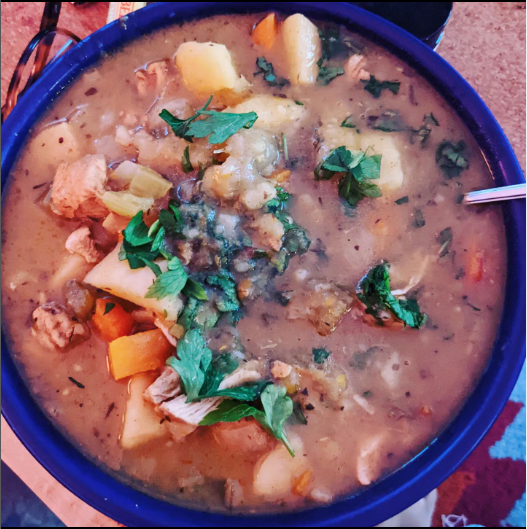
Winter in the Northeast demands stew. For survival.
I can’t tolerate dark meat or beef, so I’ve had to get a little creative with my stewing. I will say that this doesn’t freeze super well unless you thaw it with gentle stirring in a pot on the stove – no microwaving or it turns to absolute mush.
You’ll need:
Instant Pot Blender (bullet, immersion, whatever you want) 1 boneless skinless chicken breast cut into inch or so chunks 1 cup of home made veggie broth 1 cup water 1 tablespoon oil of choice – olive and melted coconut both work nicely here Two stalks celery, chopped Two medium carrots, peeled and chopped 1 white or yellow onion, diced 2 cloves garlic (omit if you can’t tolerate garlic) 1 1/2 -2 cups baby Yukon gold potatoes, peeled 1 bay leaf 1 teaspoon ground sage 1 teaspoon fresh or dried thyme 1/2 teaspoon dried basil Salt to taste 1/4 teaspoon black pepper Chopped fresh parsley for garnish
1. Add ingredients to the pot. Stir to combine. 2. Seal pot and pressure cook on high for 20 minutes. 3. Allow pressure to naturally release for 10 minutes, then vent remaining pressure. 4. Open lid. Ladle out 2 cups of the liquid and vegetables into your blender. Don’t add chicken to this mix. 5. Blend until smooth. Pour mixture back into pot and stir to combine. This will naturally thicken the stew. If it’s still too watery, you can blend more of the vegetable broth mix. 6. Serve with chopped fresh parsley overtop.