Roasted peppers are one of those things that tastes really decadent but takes very little effort to make. Traditionally red peppers get all the love, but I also roast orange or yellow peppers. Green aren’t sweet enough and taste a little bitter to me, but if that’s your thing the method would be the same.
Line a baking sheet with foil, or use a glass pyrex pan and place your peppers side down. Roast them uncovered in the oven for 40-50 minutes (depending on pepper size) at 400 degrees. When the side facing up starts to turn black or dark brown, use tongs to turn the pepper so that side is now face down on the pan and continue roasting the new up side. When that colors, take the peppers out and let them rest for 10 minutes before gently peeling off the skin and deseeding the inside.
Once you’ve made roasted peppers, popping them into sauces is easy. I freeze roasted peppers in jam mason jars and pull them out a portion at a time for this sauce.
You’ll need:
1 roasted red or orange pepper (per person – if feeding multiple people do one pepper per head) 1/2 cup pressure cooked white or navy beans (again, per person) 1/4 cup fresh basil, chopped roughly 2 teaspoons olive oil 2 cloves garlic (can use dried powder if that’s what’s on hand) 1 small white or yellow onion, cut into finely slivered rings 1/2 teaspoon dried oregano Salt to taste Small blender or hand blender
Combine all ingredients in your blender cup. Make sure that your peppers and beans aren’t piping hot when you do this, or your sauce will explode when you open the blender cup.
Blend ingredients until smooth.
Pour over rice pasta, chicken, or use as a simmer sauce.
Traditional fried rice is made with day old rice to use it up, stir fried in oil over high heat with soy sauce, and peppered with little bits of leftover meat. Most of that doesn’t fly on a low histamine diet.
For this we’re going to lean on several ingredients traditionally used in Asian cuisine – ginger, scallions and garlic – to suggest flavors that go with soy sauce rather than using soy sauce. If you don’t tolerate ginger or garlic, this will be hard to sub
For this version, you’ll need:
1/2 cup white or brown rice, previously cooked and frozen
1/4 cup diced peeled carrot
1/2 cup diced scallions (can be green and white parts if tolerated, or just green if on a low FODMAP diet)
1/2 cup diced napa cabbage stems
1 tablespoon oil of choice (I used sesame)
1 whole egg (if only part of the egg is tolerated you can use just egg whites or just egg yolks)
1 teaspoon powdered ginger
1 good sized nub of fresh ginger, peeled and grated
3 cloves garlic, grated
1 teaspoon salt
Black sesame seeds (white works too)
In a steel pan, heat your oil over medium heat. Add your grated garlic and fresh ginger and stir.
Add scallions, onions and cabbage. Cook over heat with occasional stirring until cabbage and onions are wilted.
When vegetables begin to stick to the bottom of the pan, add powdered ginger and salt.
Pour 1/4 cup of water into the pan and scrape brown bits off the bottom. Reduce heat to low, cover pan, and simmer for 10 minutes.
While your veggies simmer, thaw your rice in the microwave.
Open the pan and stir vegetables. Most all of the liquid should be gone and the veggies should be tender.
Add rice to pan. Stir to combine.
Turn heat up to medium high. Crack an egg overtop the rice mixture and stir. As the egg hits the pan, it should cook and produce little ‘fried’ egg bits throughout while leaving a nice creamy texture.
When egg is totally cooked, remove from heat and dish out into a bowl. Top with sesame seeds. Serve immediately.
Subs: I’ve added broccoli, frozen lima beans, or cubed cooked pork loin to this to make it a fuller meal. It doesn’t freeze well but is a great way to use up little frozen odds and ends of ingredients.
Getting an Instant Pot as a low histamine eater is honestly life changing. It’s one of the few appliances that I don’t mind giving space to in my tiny galley kitchen.
I put off getting one for the first 6 months of my low histamine diet – I didn’t grow up in a house that pressure cooked, and culturally we’re taught to fear and respect unattended cooking devices. When I did break down and get one, I got it like new off of Facebook marketplace. Turns out they’re a popular holiday gift, and there are lots of non-limited eaters out there who don’t want it and can’t wait to get rid of it.
But once I did get the hang of Instant Pot cooking, I started using it multiple times a week and bringing it with me on the rare occasion that I travel overnight. It’s excellent at time saving for some of my harder-to-cook staples and the best way to handle broth and soups.
Here are a few of my Instant Pot staple recipes that I can’t live without.
Quinoa
I like to freeze well cooked quinoa into lunch portions and then throw the thawed amount into sautéed peppers, onions, asparagus, etc for a quick pilaf.
Combine 1 cup quinoa with 1 1/4 cups water in the pot.
Close the lid and set to pressure cook on high for 10 minutes.
Allow the pressure to naturally release for 10 minutes, then vent the remaining pressure. Open and fluff with a fork. I like my quinoa well cooked and soft, and this amount of time fully opens the germ for easier digestion.
Wild Rice
Wild rice isn’t actually rice at all, but a kind of seed! It’s high in protein and freezes and thaws well. It can be pricey if you don’t know where to purchase it. Trader Joes sells bags for a reliably low price, as does Whole Foods’ generic brand.
Combine 1 cup wild rice with 1 1/4 cups water in your pot.
Close the lid and set to pressure cook on high for 30 minutes.
Allow the pressure to naturally release for 10 minutes, then vent the remaining pressure. Open and fluff with a fork. Properly cooked wild rice will be soft and fully split open so that the lighter colored insides are visible. If your wild rice is still closed, don’t eat it.
Brown Rice
I’m that weirdo who always used to ask for brown rice at Chinese restaurants (back when I could eat at Chinese restaurants…) instead of white rice. It has more fiber, it holds you longer, and it has a nice nutty taste.
Rinse 1 cup of brown rice under water to allow the starches to drain, until the water runs mostly clear.
Combine the cup of rice with 1 1/3 cups of water in your pot.
Close the lid and set to pressure cook on high for 15 minutes.
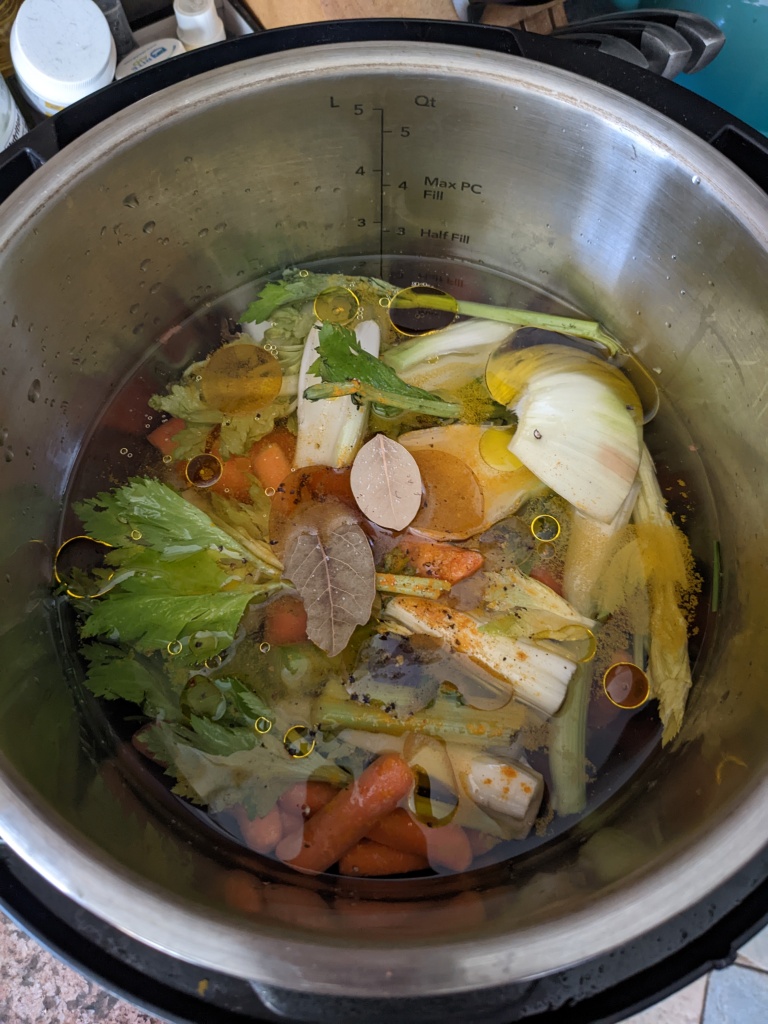
Boxed or canned broth is off limits on the low histamine diet. Making your own with an Instant Pot is super easy, and also a way to ditch the sodium that a lot of pre-made broths carry.
Peel and roughly quarter two small or one very large white/yellow onion. Add to pot.
Add two stalks of celery snapped in half, as well as two larger carrots or several heaping handfuls of carrot peels, if you’re being thrifty.
Pour in 1 tablespoon of olive oil or your tolerated oil of choice.
Optional but nice – add the stalks from your shucked parsley, a bay leaf, and cracked black pepper to toleration.
Add 1 tsp of salt, or more to taste. Shake in a small amount of turmeric for color.
Seal your pot and set to pressure cook on high for 1 hour. Allow all pressure to release naturally.
Open the pot and remove vegetables and herbs. Your broth should be golden in color and have a nice neutral taste.
Beets are an anti-inflammatory superfood. I love how they taste but always hate the next day when you forget that you ate them and think that you’re dying when you go to the bathroom. *Gold Beets Have Entered The Chat* Like their purple siblings, golden beets are a root veggie with a nice earthy taste, but a little mellower. Best of all, they’re bright orangey yellow – no staining to your counter top or insides.
Peel your beets. If they’re larger, cut them into pieces. All beet pieces that go into your instant pot should be roughly the same size, maybe 3 inches across.
Place the metal trivet that came with your Instant Pot into the bottom of the pot, arms reaching upward towards the pot’s opening.
Pour 2 cups cold water into the bottom of the pot over the trivet.
Place your beets in an even layer on the trivet. Don’t stack them upwards.
Close the pot and pressure cook on high for 14 minutes.
Allow pressure to naturally release for another 15 minutes.
Manually release all remaining pressure.
Your beets should be fork tender. If they’re not, reseal the pot and cook for another 10 minutes. I’ve only had this happen once or twice, and I think it was due to under ripe beets because the cooked beets also had very little color or flavor.
Beans on the low histamine diet are controversial. Let’s start there.
Some sites list them as histamine liberators and therefore discourage eating them. The SIGHI list has them at a rating of 2, and says that ‘Some tolerated exceptions are possible in some cases,’ whatever that means. And most commonly, beans come in a can, with canned food being off limits for its ability to accumulate histamine. Those I don’t eat.
All my tolerated beans start as dry in a bag, then soak and are pressure cooked before being frozen in individual portions. I’ve found that these never set me off and are a true safe food. They’re also thankfully a cheap protein source, and more sustainable than animal proteins.
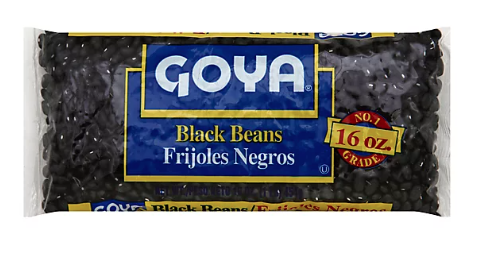
You’ll need: -1 cup dry black beans (Goya is always a quality bet, or loose from a bulk store) -5 cups of water for cooking -5 cups of water for soaking -Instant pot -Colander or strainer -Containers for freezing
Soak your dry black beans in enough water to cover them by three inches, either overnight or for at least 6 hours. I’ll often throw them in water at breakfast, and they’re ready for cooking by dinner. It’s good to note that soaking black beans turns the water black and you’ll want to do this in something like a steel cooking pot or bowl, not something stainable and precious.
After soaking, dump your black beans into a colander and drain. Pick out any beans that look shriveled or weird.
Put your strained beans in the instant pot. Cover them with 5 cups of water. You might be tempted to use less water and more beans – don’t. This ratio is needed for proper cooking. Depending on the size of your instant pot, this means that you might be limited to cooking just one cup of beans at a time. Don’t overfill the pot! This makes a huge foamy mess.
Close the lid on the instant pot and set it to pressure cook on high for 28 minutes. Then, allow the pressure to naturally release.
Open the pot and test the beans for doneness. They should be quite soft. If for some reason your beans are crunchy, don’t eat them. Close the pot and pressure cook for another 10 minutes. Crunchy beans = digestive hell
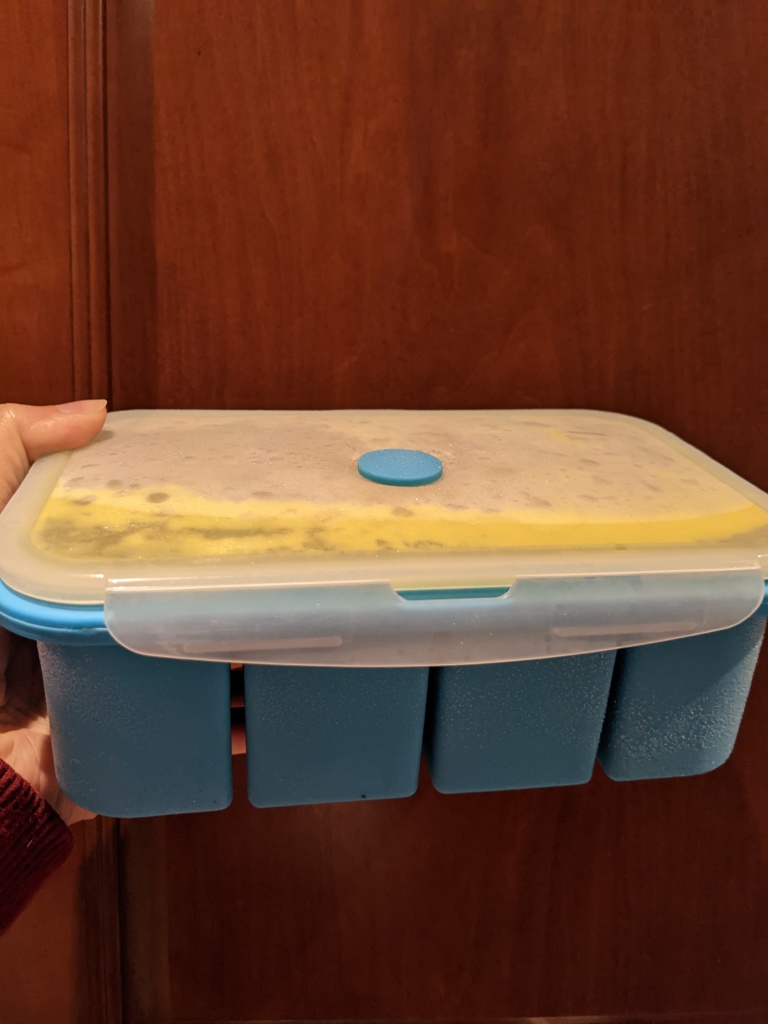
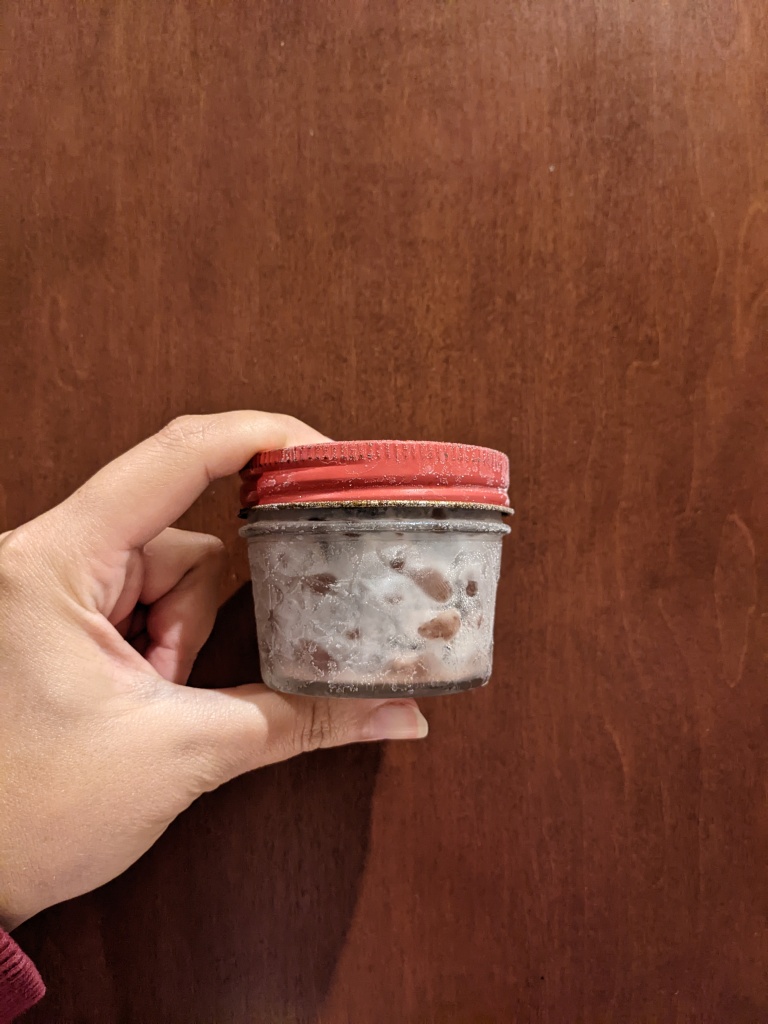
Immediately decant the beans into your freezing containers. I like to use jam jar sized mason jars for individual portions. Add a small amount of the bean liquid to the container to keep them from drying out when you reheat.
Additional Tips: -The time for cooking applies to black beans, which are a softer bean. If you try this with something like a navy bean or great northern bean, that will take significantly longer. -I’ve never experienced this, but have read that using hard water with high mineral content to cook the beans can alter results. If you live in a place with hard water, consider using filtered or extending your cook time. -Once thawed from frozen, these mash up nicely with whatever spices and oil you can tolerate as a dip.